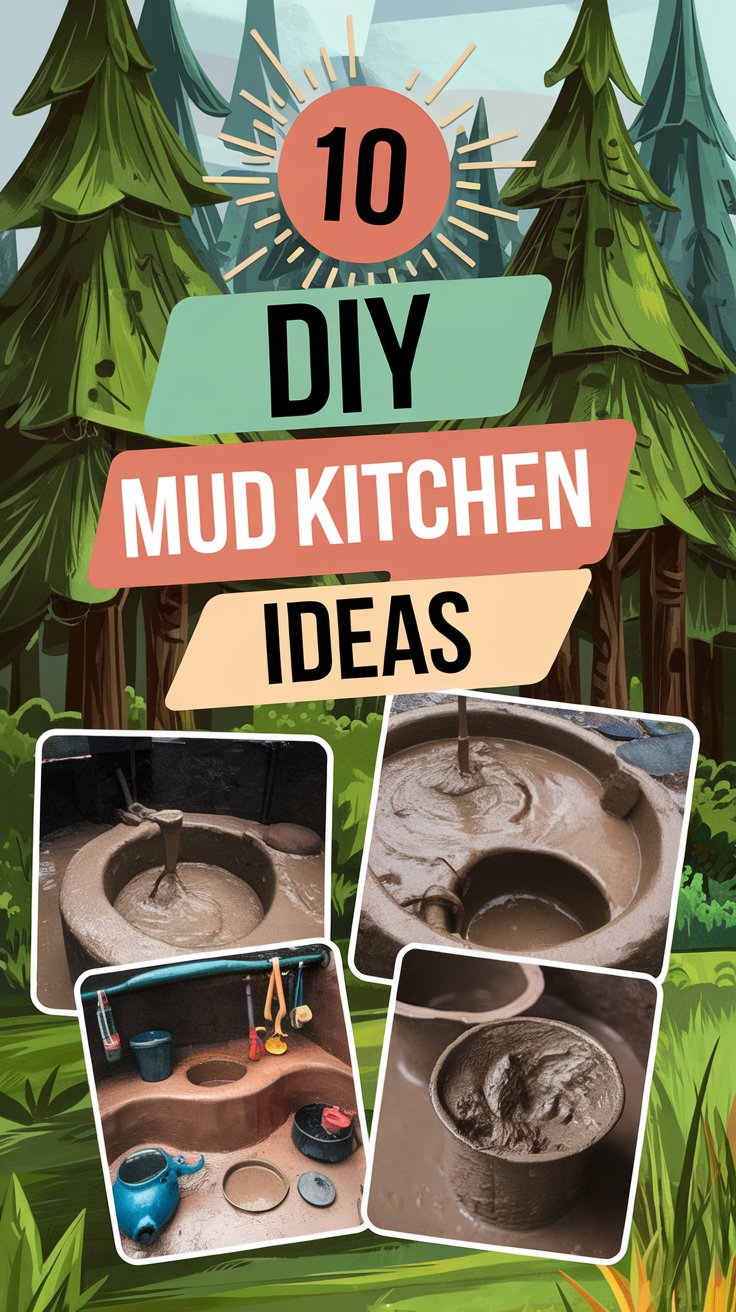
10 Essential Steps to Build an Amazing DIY Mud Kitchen for Endless Outdoor Fun
Creating a DIY mud kitchen is a fantastic way to encourage outdoor play and creativity in children. By building a mud kitchen, you provide a dedicated space for kids to explore, experiment, and engage with nature. In this guide, we’ll walk you through the steps to create your own mud kitchen, offering tips and insights to make the process enjoyable and cost-effective.
1. Choose the Perfect Location
Select a spot in your yard that is shaded, safe, and has easy access to dirt and water. Placing the mud kitchen near trees or shrubs can add to the natural ambiance and provide additional materials for play.
Pro Tip: Ensure the area has good drainage to avoid excessive mud and puddles.
2. Gather Materials
You can build a mud kitchen using reclaimed or inexpensive materials. Common items include wooden pallets, old cabinets, or unused tables. Scavenging for materials not only saves money but also adds character to your mud kitchen.
Materials Needed:
- Wooden pallets or planks
- Nails or screws
- Hammer or screwdriver
- Saw (if cutting is required)
- Sandpaper
- Non-toxic paint or wood sealant (optional)
Pro Tip: Check local businesses for free pallets or reclaimed wood. Many are willing to give them away.
3. Design Your Mud Kitchen
Sketch a simple design based on the materials you have. Consider incorporating features like a countertop, shelves, and hooks for hanging utensils. Keep the design flexible to adapt to the materials on hand.
Pro Tip: Look for inspiration online to find designs that suit your space and materials.
4. Construct the Base and Countertop
Start by building a sturdy base using pallets or wooden planks. Attach a countertop surface at a comfortable height for children. Sand all surfaces to prevent splinters.
Pro Tip: If using pallets, ensure they are heat-treated (marked with “HT”) and not chemically treated for safety.
5. Add a Sink or Basin
Incorporate an old sink or a large bowl to serve as the mud kitchen’s sink. This feature enhances the play experience by allowing kids to mix and “cook” with water and mud.
Pro Tip: Install a simple drainage system by drilling holes in the bottom of the sink and directing water away from the play area.
6. Install Storage Solutions
Add shelves, hooks, or crates to store utensils, pots, pans, and other play items. Keeping accessories organized makes the mud kitchen more functional and enjoyable.
Pro Tip: Use metal hooks and sturdy shelves to withstand outdoor conditions.
7. Personalize with Paint and Decorations
Apply a coat of non-toxic, weather-resistant paint or sealant to protect the wood and add a splash of color. Let the kids help with decorating to make the space their own.
Pro Tip: Use chalkboard paint on a section to create a menu board for imaginative play.
8. Stock with Play Accessories
Equip the mud kitchen with old pots, pans, measuring cups, and other kitchen utensils. Thrift stores are great places to find inexpensive items.
Pro Tip: Opt for real kitchen tools over plastic ones for durability and a more authentic experience.
9. Incorporate Natural Elements
Encourage children to use natural materials like stones, sticks, leaves, and flowers in their play. This fosters creativity and a connection with nature.
Pro Tip: Create a small garden bed nearby where kids can pick herbs or flowers to use in their mud kitchen creations.
10. Ensure Safety and Maintenance
Regularly inspect the mud kitchen for any loose parts or potential hazards. Keep the area clean and teach children to tidy up after play.
Pro Tip: Cover the mud kitchen during inclement weather to prolong its lifespan.
By following these steps, you’ll create a delightful mud kitchen that offers endless hours of outdoor fun and learning for your children. Embrace the mess and watch their imaginations flourish!
For a visual guide on building a mud kitchen, check out this helpful video:
Helpful Resources
- https://mothernatured.com/nature-play/diy-mud-kitchens/?utm_source=chatgpt.com
- https://www.reddit.com/r/DIY/comments/1aig03z/mud_kitchen/?utm_source=chatgpt.com
- https://www.youtube.com/watch?v=OR0idOfvvnE&utm_source=chatgpt.com
- https://www.reddit.com/r/woodworking/comments/12azucx/fun_project_building_a_mud_kitchen_for_my_daughter/?utm_source=chatgpt.com
- https://meganzeni.com/build-a-mud-kitchen/?utm_source=chatgpt.com
- https://www.ana-white.com/woodworking-projects/mud-kitchen?utm_source=chatgpt.com
- https://hanashappyhome.com/rooms/outdoor-design/diy-mud-kitchen/?utm_source=chatgpt.com
- https://ourdaysoutside.com/create-an-amazing-mud-kitchen/?utm_source=chatgpt.com

